Hello! If you're a new bread baker—or if you're an experienced bread baker who wishes they could create tastier loaves—you might enjoy my Ten Tips For Better Bread. This post discusses things like using 'old' dough and an autolyse and taking the temperature of your dough, all of which are called for in this recipe.
If you're new to baking sandwich bread, you may want to try my popular Farmhouse White, an easy basic white sandwich bread recipe that's perfect for beginning bread bakers and can be adapted (and made healthier) in all sorts of ways. Another post you might find helpful is How To Shape Bread Dough into Sandwich Loaves and Some Simple Bread Baking Tips. Happy baking!

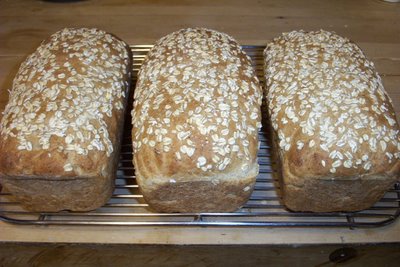
Freshly Baked Oatmeal Toasting Bread (this batch made with milk instead of water and baked in these awesome commercial pans)
Last night I decided that today was going to be the day I finally posted my Oatmeal Toasting Bread recipe. Hours later I found myself lying in bed in the dark, wondering if I'd ever gotten around to writing down the weights of the ingredients, and if not, if it would be ridiculous to weigh them all out but not actually bake bread because between writing up the post and dealing with the two coolers full of venison on the back porch that I've been ignoring—but that I have now decided I am actually 'aging,' which will make the meat taste even better—there certainly wouldn't be time.
Then this morning I awoke to discover I'd been publicly humiliated—as well as reminded of just how many times I've promised to share this recipe. Okay, I can take a bold-faced hint.
So here it is. I really don't know what the hold up has been, except for the fact that my life seems to be perpetually stuck in an irritating and mildly anxiety-producing catch up mode. In addition, my surroundings are perpetually stuck in a cluttered feng shui nightmare mode, which makes finding things a real pain sometimes, but that's a whole other subject. No wonder I drink all that Tension Tamer tea.
Anyway, if you've been looking for a new and interesting bread to try baking, this could be it. It's different, tasty, isn't difficult to make, freezes beautifully, and is slightly better for you than my popular Farmhouse White. It also makes quite possibly the best toast I've ever eaten.

This is one of my favorite breads. You can also use the dough to make scrumptious burger buns and dinner rolls (see photo below), which would be a wonderful addition to any Thanksgiving table. If you feel like really going all out, you could fill your bread basket with a mixture of Oatmeal Toasting Bread rolls and some of my festive carrot herb rolls (I love these). Just be sure to make enough for little leftover turkey sandwiches.
I've been baking variations of this bread for over ten years, experimenting until I came up with what I consider the perfect loaf. The recipe I originally started with came from a 1995 issue of Gourmet, but since I've ended up changing pretty much everything about it except for the basic ingredients, I claim this version as all mine.
Of course I've found that as soon as any bread recipe (or formula, as commercial bakers call them) is invited into a baker's kitchen, it immediately becomes their own, even if they're attempting to follow it to the letter. Because whether it's by chance or by choice, your bread will most likely end up looking and tasting different than mine. And while this may not be all that desirable when one is creating a cake, I believe it's one of the endearing qualities of handmade bread. No two loaves are ever completely alike.
That said, I invite you to take my recipe into your kitchen and share your results with the rest of us. For instance, when I first sent this recipe to my bread baking partner in crime, Beth (aka kitchenMage), she substituted wheat bran for the oat bran and created an entirely new loaf. She now makes a decadent Cinnamon Spice Pecan Swirl version—and tells me the dough makes awesome cinnamon rolls.
So bake this oatmeal bread and then leave us a comment describing your version. Did you halve the amount of yeast and double the rising time? Knead the dough with a standing mixer? Make it with milk instead of water? Use honey and natural margarine in place of the sugar and butter? Toss in some whole grain flour and a little cracked wheat? Add a few handfuls of raisins and a cup of homemade applesauce? Make your bread in the shape of a braid? If you write about it on your blog, you're welcome to include a link to the post in your comment.
One bread recipe is now in many hands. I'm so glad I finally got around to sharing it, and I can't wait to see what you come up with.
Farmgirl Susan's Oatmeal Toasting Bread Recipe
**Click here to print this recipe**
Makes three 8"x 4" loaves, approximately 24 ounces each, plus 10 ounces of dough to save as 'old dough' for your next batch.
This is the 'old dough' version - instructions are included below for how to make this bread without old dough
As always, I recommend using local and organic ingredients; they really do make a difference. Organic flours and grains are readily available and reasonably priced; look for them in the bulk section at natural food stores. Even organic sugar is becoming mainstream.
I buy one pound packages of instant yeast and keep it in a jar in the freezer, where it lasts for at least a year. I've never had good luck with those little envelopes of yeast, and even if you end up tossing half a pound of the bag out, the larger package is still a bargain.
An instant read thermometer is an inexpensive and indispensible tool; use it to check the temperature of your ingredients, your rising dough, even the air temperature by setting it in a glass of room temperature water.
A digital kitchen scale is another very worthwhile investment. I love my Oxo Good Grips 11-pound scale and often use it several times a day to weigh everything from recipe ingredients to freshly harvested kitchen garden bounty. It's also great for weighing postage. The pull-out display is awesome.
I can't say enough good things about these Chicago Metallic commercial loaf pans, pictured in the top photo above). I mostly use the one pound (approx. 8-inch) size in order to get taller loaves, but I also use the 1½ pound (approx. 10-inch) size, too. They're great for baking both yeast breads and quick breads.
4 cups (32 fluid oz) very hot water or organic (or raw) milk (Update: I always use milk now)
2½ cups (11 oz/311 g) organic old-fashioned oats
1/2 cup (2 oz/62g) organic oat bran
1/2 cup (3½ oz/96 g) packed golden brown sugar
1/4 cup (1/2 stick/2 oz) organic butter
1 Tablespoon (3/8 oz/11 g) instant yeast (slightly more if using active dry yeast)
6 to 7 cups organic bread flour (6 cups = 1 lb, 15 oz/871 g)
1 Tablespoon (5/8 oz/20 g) salt
10 ounces 'old' dough** (white/oatmeal/whatever will work; if frozen, defrost first at room temperature or overnight in refrigerator)
**If you don't have any old dough, simply follow these instructions, but ignore the part where it says to add the old dough, and do not take out 10 ounces of dough when shaping the loaves.
Straight Dough Method (when you have no old dough) that will make old dough for your next batch:
If you don't have any old dough, use the recipe above but use 4½ cups of water or milk instead of 4 and adjust the flour accordingly - you'll probably need less than 1 cup extra flour. Also, ignore the part where it says to add the old dough (because you don't have any yet).
Combine the oats, oat bran, brown sugar, and butter in a very large bowl. Add the hot water and stir until combined. Let the mixture sit until about 80°F, about 30 minutes.
Combine the yeast with 2 cups of the bread flour and stir into the oat mixture. Continue stirring in the flour one cup at a time until a soft dough forms. Transfer the dough to a well floured surface and knead for about 8 minutes.
Cover the dough with the bowl and let it rest for 20 minutes.
Knead in the salt & old dough for 5 minutes, or until they're completely mixed in. Sprinkle the flour in the dough bowl, place the dough in it, liberally dust it with flour, and cover it with a damp tea towel.
Update: While I still love using my wooden dough bowls, most of the time I now let my dough ferment (the first rise) in a straight-sided food grade plastic container with a snap-on lid, which makes it easy to see when the dough has doubled in size. There's no need to grease or flour the container.
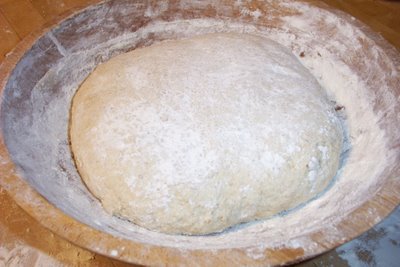
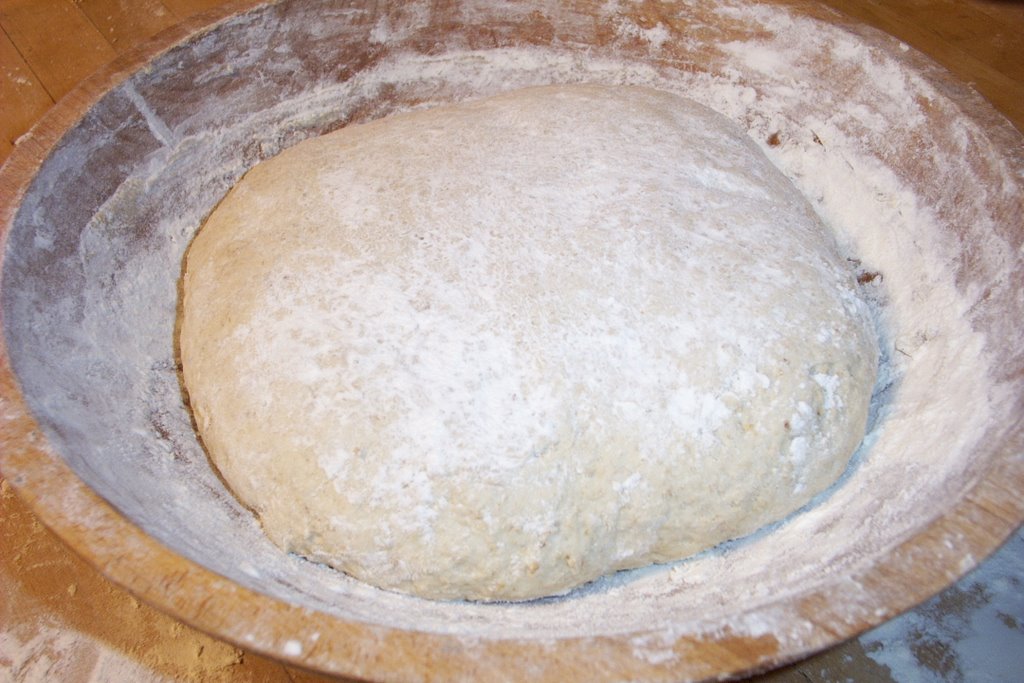
Kneaded dough ready to rise
Ferment (first rise): Approximately 1½ hours if dough is at an optimal 70° to 75°F. When the dough is ready, you should be able to push your finger deep into it and leave an indentation that does not spring back.
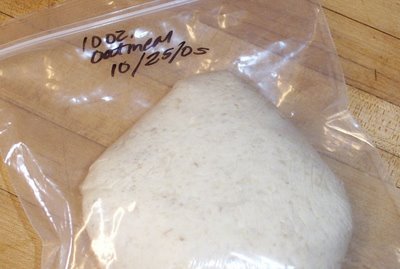
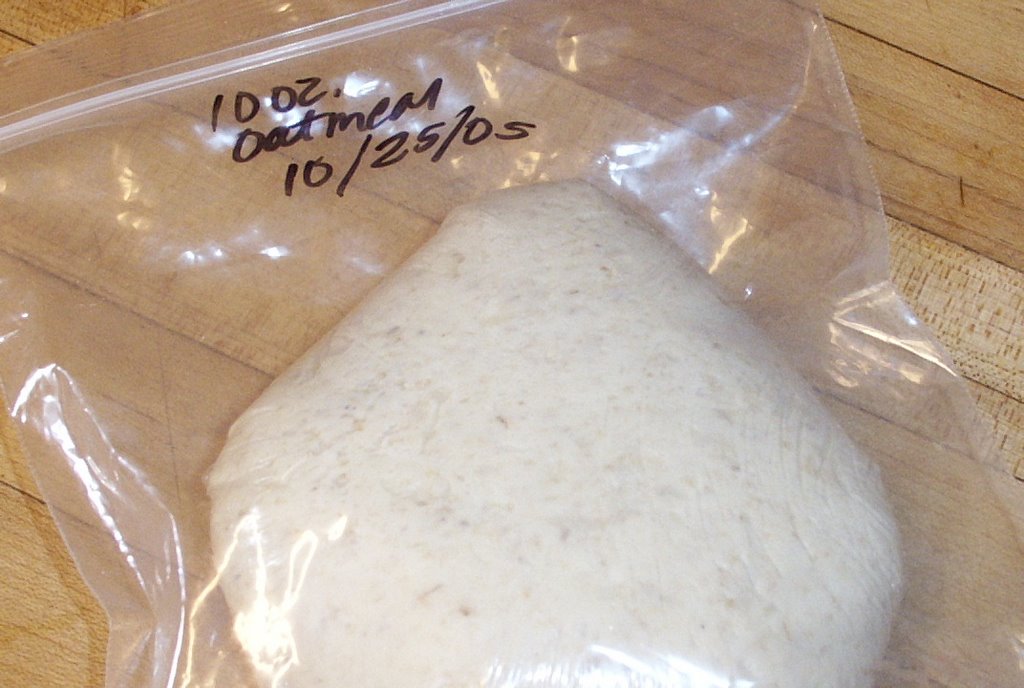
Old dough ready for the freezer
Divide and shape into three loaves, after taking out about 10 ounces to make 'old dough' for your next batch of bread, if desired. (If not, your loaves will just be slightly larger.) 'Old dough' can be wrapped in plastic, put in a zipper bag, and frozen until you are ready to use it.
There are dozens of ways to shape your dough into loaves. I form mine into "logs," and the method I use comes straight from the pages of the wonderful book, Amy's Bread. Here it is, word for word, because if you're like me and have trouble thinking three-dimensionally, this isn't the kind of thing you want to try paraphrasing. (Thanks, Amy!)
"When shaping your loaves, the most important thing to remember is to be gentle with the dough. Your goal is to form an even loaf with a taut skin, while leaving some larger air holes inside.
Very lightly flour the work surface. Start by forming an envelope: Place the dough on the table. Press and flatten it gently with your fingertips to form a rectangle with a short side facing you, leaving a lot of air bubbles in the dough. Fold the top edge down over the middle of the rectangle, then fold the bottom edge up.
Give the dough a quarter turn and repeat the process, folding the top edge down and the bottom edge up again and overlapping the edges slightly in the middle so the dough looks like an envelope. Pat the seam to seal it. Now you have a smaller, tighter rectangle.
Form a cylinder: Starting from the top edge of the rectangle, fold the top third of the dough over itself with one hand. With the heel of your other hand, gently press the seam to seal it. Fold the dough one third of the way down again and work from one end to the other to seal the seam. Try to keep the skin of the dough smooth and tight but not so tight that the skin tears.
The plain log shape can be placed in a loaf or left on a cloth for a free-form second rise. From the log shape, you can make other cylindrical shapes."
Place logs seam side down in greased loaf pans, then brush the tops of the loaves with water and sprinkle with oats, if desired.
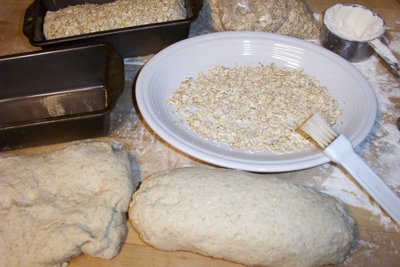
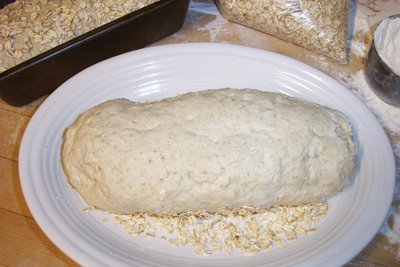
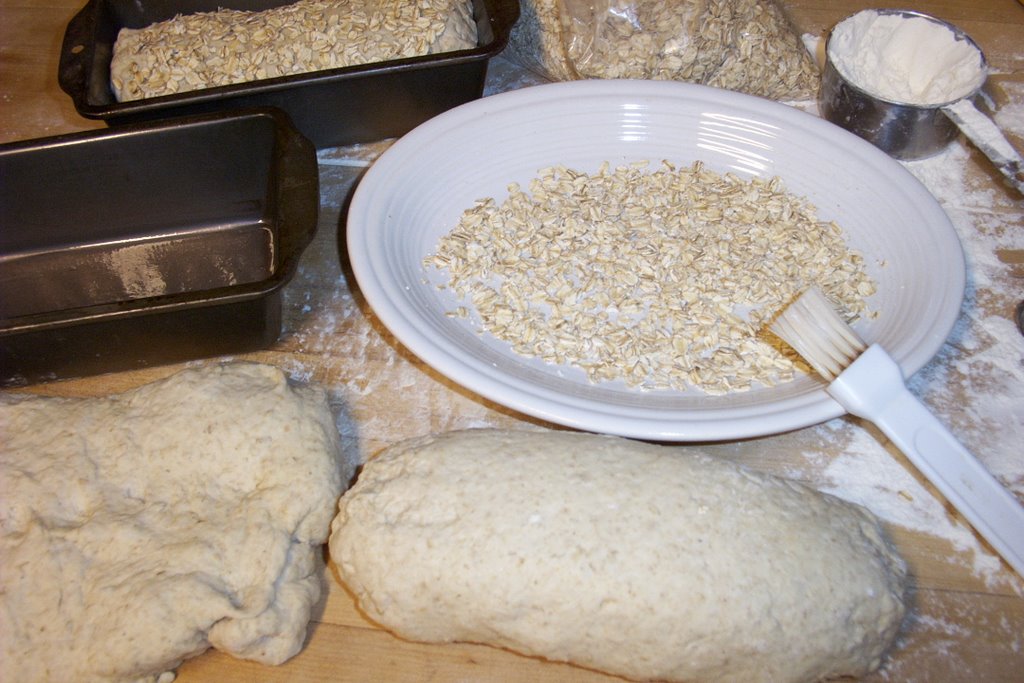
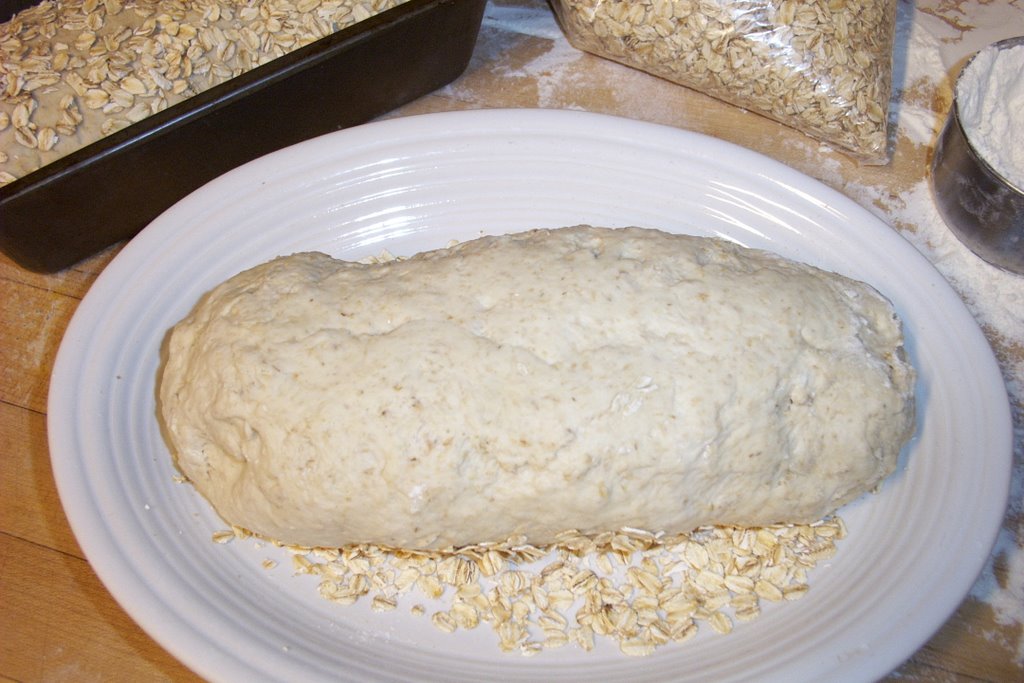
Or, if you want a heavy, even covering of oats on your loaves, you can brush them with water and then roll them gently in a plate of oats as shown in the above photos. Then place seam side down in greased loaf tins and cover with a damp tea towel.
Proof (second rise): Approximately 1 hour if dough is 70 to 75°F. The loaves are ready for baking when you make a slight indentation with your finger in the dough and it does not spring back. Note: this dough will not rise a whole lot while baking, so you want your loaves to be nearly finished size before you put them in the oven.
Bake at 375° for 35 minutes or until golden brown and bottoms sound hollow if tapped. Remove from pans and let cool on a wire rack. Try to wait at least 40 minutes before cutting into a loaf. Store at room temperature or freeze.
 You can also use this bread dough to make scrumptious little rolls.
Note: This dough also makes fantastic dinner rolls and burger buns. Just shape into whatever size you like and reduce baking time accordingly. Rolls and buns can be formed into individual balls and spaced far enough apart on a baking sheet so they aren't touching, or you can place them close together in any size pan and make 'pull-apart rolls.'
A pie or cake pan will give you a nice circle of rolls that look lovely on the table—or presented as a host/hostess gift.
I highly recommend investing in a couple of heavy duty commercial rimmed baking sheets. At less than $14 each, they're one of the best kitchen deals around. Treat them well—I usually line mine with sheets of unbleached parchment paper, which is wonderful stuff—and they'll last for ages. I've been using the heck out of some of mine for 20 years for everything from baking cookies to roasting Brussels sprouts.
Got more flour left? Check out these other Farmgirl Fare bread recipes:
Beyond Easy Beer Bread (my most popular recipe)
Whole Wheat Beer Bread
Onion Rye Beer Bread
How To Make Your Own Pita Bread in About an Hour
Savory Feta Cheese & Scallion Scones
Cranberry Christmas Scones (tasty any time of year!)
Meyer Lemon (or Regular Lemon) Scones
White Whole Wheat Scones with Currants & Oats
Italian Rosemary Raisin Bread
Fresh Tomato & Basil Whole Wheat Sourdough Bread
Carrot Herb Rolls (and a wonderful bread book for beginners)
My Favorite Easy Pizza Dough Recipe
Still hungry? You'll find links to all my sweet and savory Less Fuss, More Flavor recipes in the Farmgirl Fare Recipe Index.
© FarmgirlFare.com, the slowly rising foodie farm blog where Farmgirl Susan shares recipes, stories, and photos from her crazy country life on 240 remote Missouri acres—and we always have at least a couple of kinds of homemade bread in the freezer.
 Sometimes Everything Else Is Just Background
A year of Daily Photos ago:
We're Having A Bit Of A Cold Snap
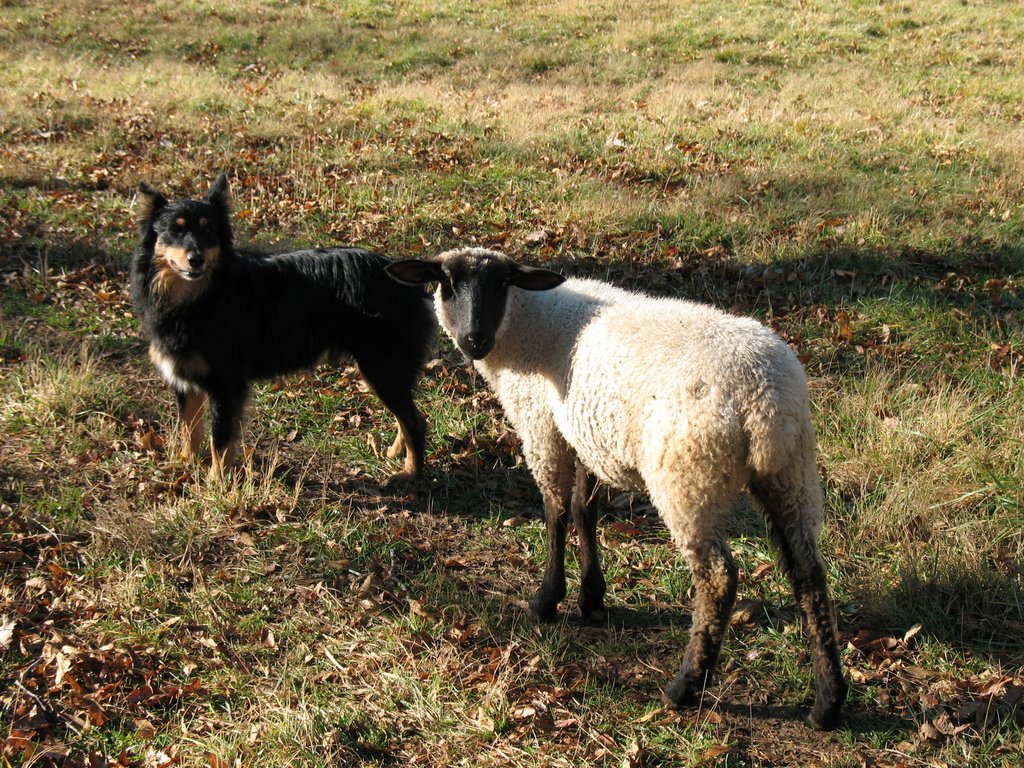
 Yep, Bear's A Leaf Roller
And a grass roller. And a hay roller. And an ice roller. Even a barn roller. And an expert snow roller--only yesterday's snow was a no show. But that's how it often seems to be around here. I scurry about in a frenzy, getting all geared up for the predicted 2 to 4 inches, which turns into a predicted one inch, which turns into nothing at all. It's a relief and a disappointment at the same time. Of course the best snowstorms really are the ones that hit entirely by surprise. You go to bed with one landscape and wake up blinking at another. Let it snow, let it snow, let it snow! (Just skip those false alarms.)
A year of Daily Photos ago: Another Same Scene, New View
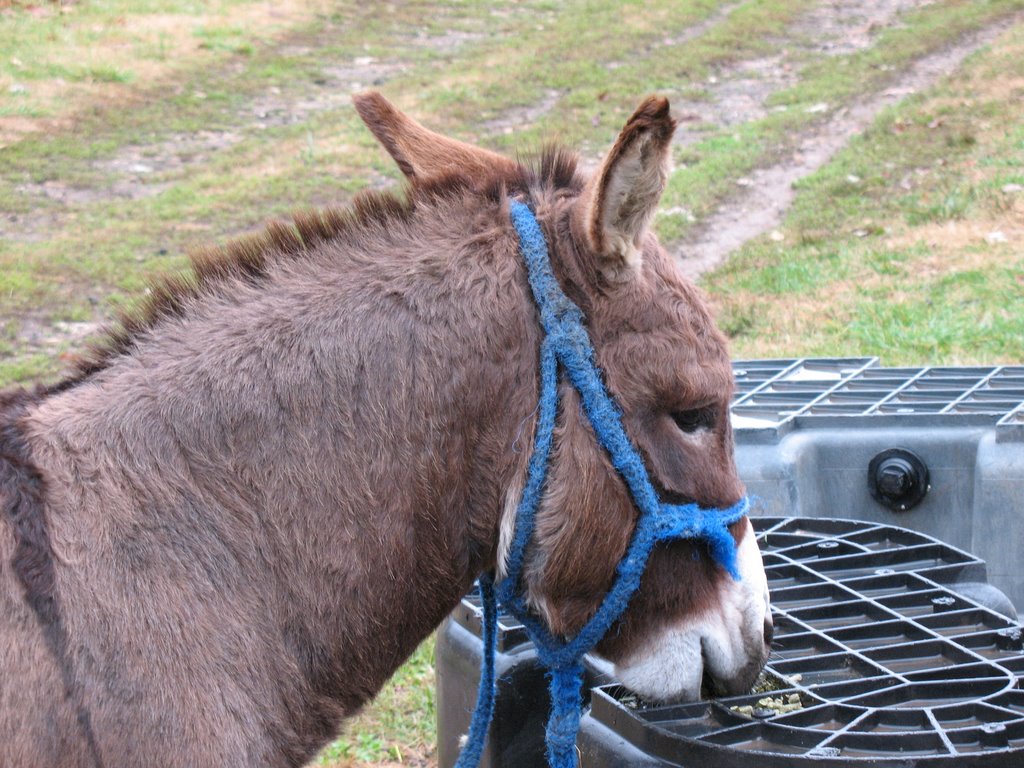
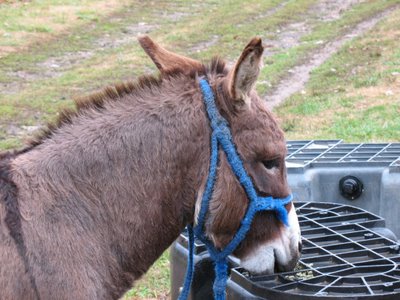 Donkey Doodle Dandy Is Quite The Dainty Eater
 Dan is seen here enjoying an alfalfa pellet treat. For months he was forced to share his breakfast, but then it finally occurred to me that if I simply raised the level of his food, the little Cary thief (who eats much faster than Dan does) wouldn't be able to steal it--which is why Dan is standing at this makeshift table. But the other day, in a woolly blur of flying alfalfa pellets and startled looks, I realized that the little thief is now tall enough to reach Dan's elevated treats. Unfortunately I think we are already at maximum Dinky Donkey Doodle Dandy eating height.
For those of you who are wondering about that ratty blue halter (which has now reached a new level of rattiness), read this. And for those of you who are wondering why he is still sporting that pathetic thing--well, I haven't gotten up the guts yet to take it off. And now it's time for another pedicure from the farrier, so I figure I'll leave it on until his visit. And then I'll take it off. Definitely.
A year of Daily Photos ago: Did The Goblins Get Them?
 Walk In The Woods
A year of Daily Photos ago:
Did you know you can store your potatoes in the garden?
And we've done it again this year. Just dug up some beautiful red potatoes that have been in the ground for months. So full of flavor they only needed to be scrubbed, cut up and boiled, sprinkled with salt, and smothered with organic butter. (Okay, the butter was unnecessary, but oh so good.) Leftovers were pan-fried until crisp in homemade lard and served hot with lots of salt. What a decadent and delicious treat!
Little Cary Is Six Months Old Today!
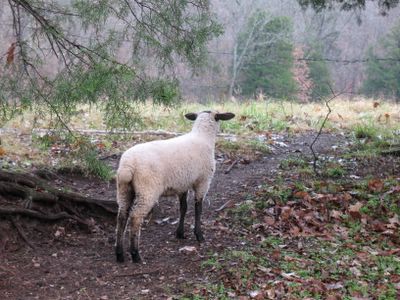
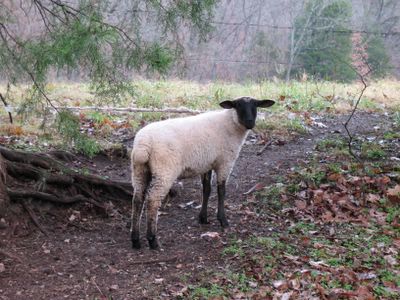
Don't know who Cary is? Meet her in A Tiny Tail for Mother's Day.
Our mornings still start out much the same, with a loud "Maaaaaaa!" from Cary. If she is not already waiting at the gate for me, as soon as she sees me she flies across the barn, pushing past the flock, leaping and running right over any big sheep in her way. I let her and Donkey Doodle Dandy out, Cary inhales half her bottle of milk, Dan gets pushed out of the way of oncoming traffic, then the rest of the sheep are set free and counted as they file out of the barn. Next it's treats for Dan and Cary and a few quick chores for me.
Then Cary and I (and often Robin & The Nanny Bear) head out in search of the flock. Lately they've been making a beeline to the farthest field, most of them preferring the shortcut entrance under the barbed wire to the giant open gateway just a few steps away. (Notice the well worn path and wool-covered wire in the photos.)
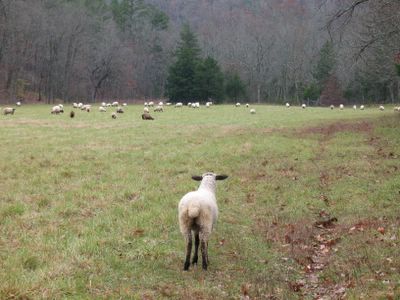
Once she sees her flock, Cary picks up the pace, often doing a little uncontrollable shake of her head and leap into the air because she is so happy. We greet the sheep, and Cary gets right down to the business of eating, glancing up every few moments between bites to make sure I am still nearby. Okay, she's actually checking to see if I've pulled out her bottle yet, as she knows perfectly well it is still half full. Once I give in and surrender the milk, she is pretty much done with me for the day. I pat her soft little body and tell her goodbye, then I slowly walk back to the house.
When I check on Cary during the day she is always happy to see me, but she is very busy eating. Once she is tucked in the barn for the night, though, she will happily stand still for hugs and nuzzles and listens intently to the sweet nothings I murmur into her fuzzy ears. This is the time of day when lambs cozy up and bond with their mothers, and I still feel a pang in my heart when I have to leave her each night. (Cary has the guilt thing down pat.) Like I said the other day, I may just have to spend a night or two in the barn during this next lambing season.
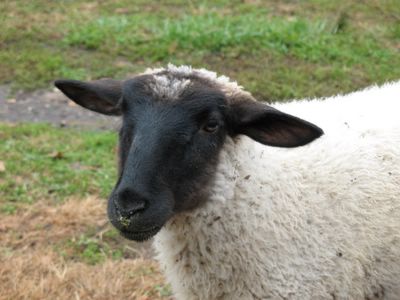
In the meantime, I continue to cherish each and every moment with my sweet surprise daughter—who, like any good foodie, is wearing her treats on her face.
Want to get to know Cary better?
Cary Is Two Months Old Today!
Cary Is Three Months Old Today!
Cary Is Four Months Old Today!
Cary Is Five Months Old Today!
© FarmgirlFare.com
 Self portrait in a puddle
This is my 500th Daily Farm Photo.
What amazes me even more than reaching this milestone is something I discovered just last week. It seems that in the 11 months since I bought my new camera, I've taken nearly 8,000 photos. Eight thousand. I was so surprised. I had no idea I'd taken that many. Yep, there are quite a few you haven't seen (inlcuding an inordinate number of Cary pics of course).
To see the 400th, 300th, 200th, & 100th photos, click here and here and here and here. If you would like to look back at more Daily Farm Photos, the easiest way is to scroll through the monthly archives via the links in the sidebar.
A year of Daily Photos ago:
Sow Seeds In September For Stir-Fry In November
(And this year's Oriental greens taste even better than last year's.)