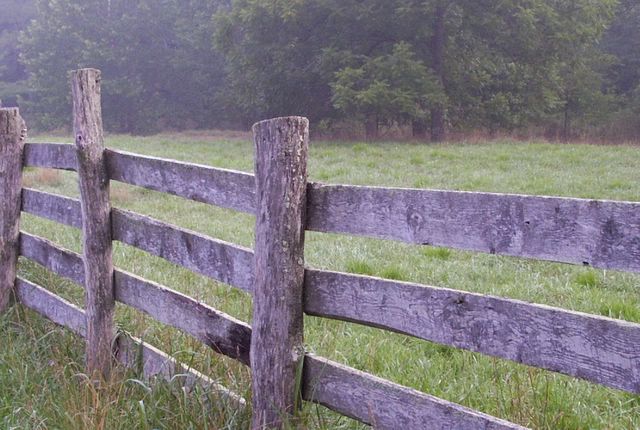
When will you let me out of here?
Life in the country moves at a decidedly slower pace than it does in the city, and that's just fine with me. It's nice to know that when you finally get around to introducing yourself to a neighbor, they don't think it the least bit odd that it's taken you three years to do so.
Everything eventually gets done. It just might not get done in a timely manner.
Everything eventually gets done. It just might not get done in a timely manner.
Along those same lines, people in the country rarely expect to be pinned down to an exact time frame for anything. I completely understand this, as I know how often unexpected delays tend to jump into your way.
We are almost always late for everything, and although you can't get away with the classic, "You wouldn't believe the traffic!" excuse out here, pretty much any other explanation will put you in the clear. Dogs had an armadillo trapped under the camper? Baby goat in the middle of the highway? Triplets born just as you were about to leave the house? I've used them all.
We are almost always late for everything, and although you can't get away with the classic, "You wouldn't believe the traffic!" excuse out here, pretty much any other explanation will put you in the clear. Dogs had an armadillo trapped under the camper? Baby goat in the middle of the highway? Triplets born just as you were about to leave the house? I've used them all.
But sometimes you really want to know exactly when something is going to happen, or at least get a rough idea. For instance, you hang up the phone after negotiating the delivery of a load of desperately needed firewood only to realize that the conversation ended with the seller simply saying, "Okay then. We'll be seeing you." Wait. Wait. When? You have been given absolutely no clue.
I quickly learned the subtle art of casually inquiring as to when something might be expected to happen. And no matter what the situation, I would receive the same answer: "In a bit."
"So, um, when do you think you'll have that tire fixed?"
"Oh, in a bit."
"What time did you say you expect her home?"
"Well, let's see now. She should be back in a bit."
"And you figure you'll be bringing over that firewood when?"
"In a bit."
At first I thought I was getting somewhere. And then I realized that "a bit" has absolutely no set real-time definition. From what I have been able to figure out over the past 11 years, it can mean anything from 30 minutes to a week and a half. But as I said, everything does get done—eventually.
So why am I explaining all of this? Because lately I have come to realize that I have wholeheartedly adopted this handy, yet often irritating, vagueness. Only I don't say "in a bit." I say "soon." It's my standard answer to when I'm going to do something, and I use it quite often, including on this blog.
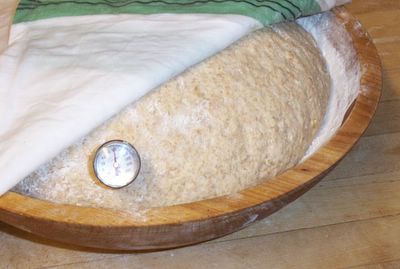
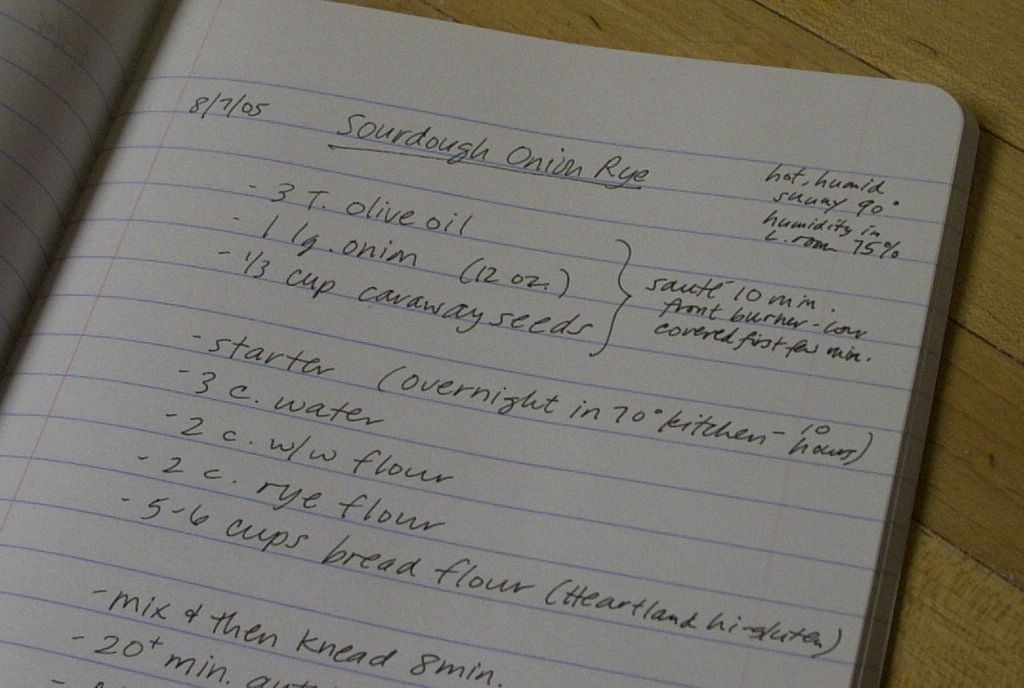
And so, for the sake of those who do not run on country time and are wondering, say, when in the heck I am going to get around to writing out the rest of those bread baking tips, or finally posting a recipe I promised I would share, I feel I should clarify what exactly I mean by "soon." Let's figure anywhere from an hour to a couple of weeks, with "very soon" definitely falling closer to the one hour mark.
And if it takes me longer than that? Well, you know I'll have a great excuse—and it won't have anything to do with the traffic. See you soon.
And if it takes me longer than that? Well, you know I'll have a great excuse—and it won't have anything to do with the traffic. See you soon.
© FarmgirlFare.com, never on time, always with a story.