Saturday, September 3

Daily Farm Photo: 9/3/05


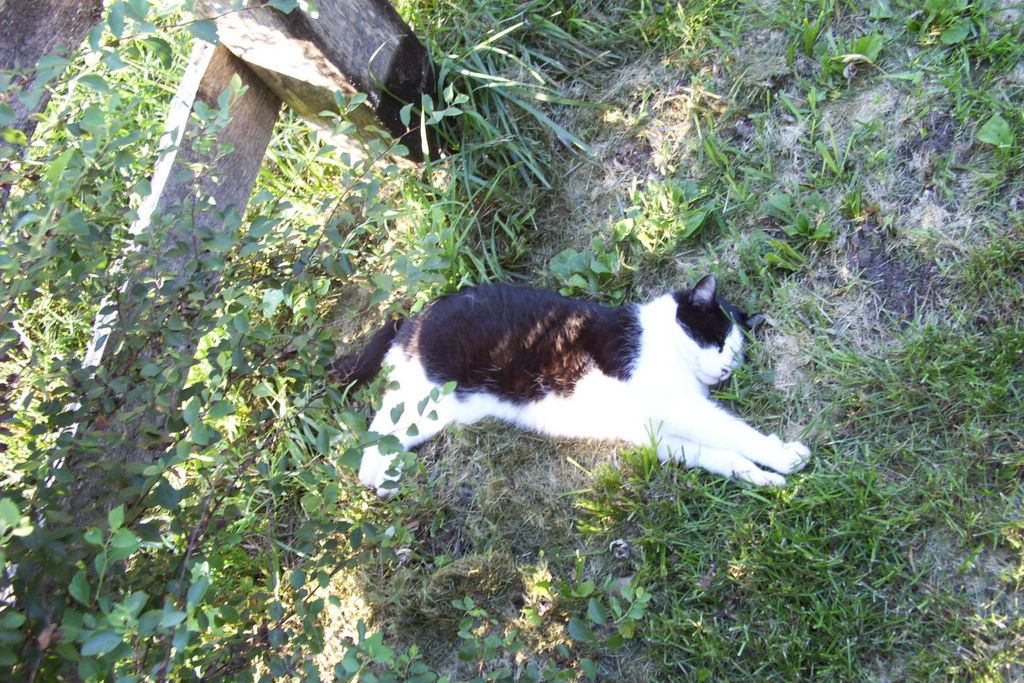
Photoshoot Inspector

Attention Cat Lovers! It's time for Weekend Cat Blogging #13!
Food Bloggers around the world unite each week and share pictures of our favorite felines. See cute cat photos and discover yummy food blogs.
You'll find all the links to this week's entries at Eat Stuff in Australia (run by the adorable Kiri). We'd love to have you join us. Just send your permalink in a comment to Clare (Kiri's slave) at Eat Stuff and add a "Weekend Cat Blogging" tag to your post.

Friday, September 2

Recipe: How To Make Pita Bread, Pita Chips, & Pita Pizzas and My Search for the Perfect Pita Recipe

The Pita Project (or Pita, Pita, I Too Much Eata!)
Three Weeks & 60 Minutes to Yum

Greek salad pitas with kalamata olive tapenade (1) - FarmgirlFare.com
Homemade pita breads are stuffed with crunchy Greek salad, baby spinach, and a quick and easy kalamata olive tapenade for a healthy light supper or lunch (recipe here).

There's homegrown ground lamb mixed with fresh basil, rosemary, thyme, onion, and garlic in the fridge. There are lemon cucumbers and white and yellow onions and San Marzano tomatoes and Italian parsley and Greek oregano and lots and lots of basil in my kitchen garden. And there are tiny drops of water falling from a cloudless sky, which can only mean that it is so hot and humid that sweat is dripping off the sun.

So what does a farmgirl do? She cranks the oven up to 500 degrees and makes pita bread of course! And just how does she do that?

She pulls out a recipe she has made only once (two years ago), and then, caught up in a seductive haze of gorgeous garden bounty and warm pita bread, she snaps a photo and posts it along with the promise of a recipe.

This promise receives such an unexpected, enthusiastic response that she becomes the tiniest bit nervous, since she has never before posted a recipe she hasn't made so many times she could prepare it in her sleep.

And so she decides she should probably make one more test batch.

Three weeks and six batches of pita bread later, I am ready to report my findings. And I have much more to share than just a recipe. I even created an amazingly scrumptious, quick and easy version of one of my favorite foods. I also spent more time crouched down in front of the oven than I have in my entire life. But let's start with the recipe.

I found it in
Bernard Clayton's New Complete Book Of Breads, a book I claimed in my Ten Tips For Baking Better Artisan Breads at Home post was worth buying just for the pita bread recipe. I still agree (though I do hope to one day try some of the other 300 recipes this enormous book contains).

Here's what Bernard has to say about pita bread:

"At the heart of the Middle East cuisine is a flat disk of bread known as pita in some countries and peda in others. As it bakes, the dough puffs to leave the center hollow. Not surprisingly it is also known as pocket bread. The pita can be torn or cut open and filled with meat or other delicacies, or a bit of it can be used as a spoon or as a 'pusher'."

The pieces of dough must be rolled flat before they are placed in a hot (500°) oven. The dough should be rolled to a thickness of no more than 3/16 inch. This is the thickness of a wooden yardstick, the kind given away at fairs and by auto dealers and paint stores. It can be used as a gauge."

The oven heat generates steam inside the pita and immediately the dough puffs into a ball. Later, as it cools, the bread will collapse. The oven must be hot. If it is not hot, the piece of dough will think it is meant to be a bun, and will rise slowly but without the all-important pocket in the center."

While this is a yeast dough, it puffs up because of steam. The yeast adds only flavor and texture. Don't overpower the dough with flour or it will be too dry to allow sufficient steam to be generated. Leave the dough on the soft side. Sprinkles of flour will take care of the stickiness."

What caught my interest was not only his claim that the steam (rather than the yeast) was responsible for the puffing, but also the fact that he only let the dough "rest" for 20 minutes and did not bake his pitas on a baking stone. That meant freshly baked pita bread in under an hour, as opposed to the two or three hours other recipes required.

After all of my experimenting (which I will discuss below), this is the recipe I am sticking with. It's essentially Bernard's, with a few minor adjustments.

Homemade Pita Bread and Kitchen Garden Bounty

Farmgirl Susan's Pita Bread after Bernard Clayton
Makes 8

2½ cups organic bread flour (I used Heartland Mill Organic Strong High-Gluten), plus more for sprinkling while kneading & rolling out dough
2 teaspoons salt
1 Tablespoon granulated sugar
1½ teaspoons instant yeast
2 Tablespoons extra-virgin olive oil
1 cup warm water (105 to 110°F)

8 eight-inch squares of aluminum foil for baking pitas
(Bernard claims that "placing the rounds on foil rather than on a baking sheet or stone allows a softer heat to surround the dough. A direct thrust of heat from a baking stone would form a crust difficult to puff.")

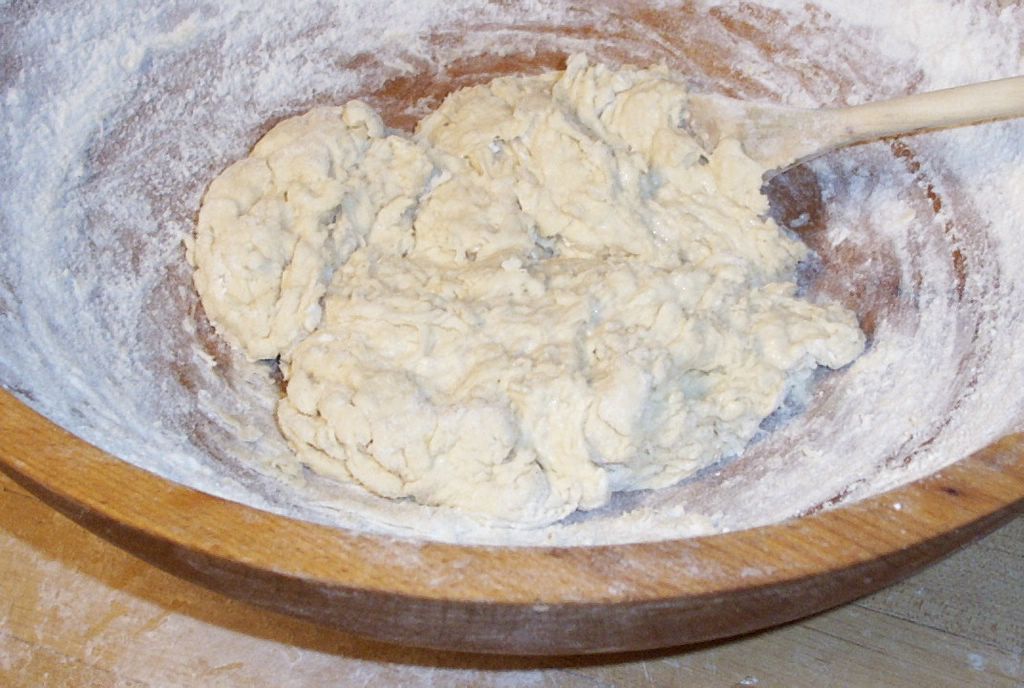
In a large bowl (I used my wooden dough bowl), combine 1 cup flour with the salt, sugar, and yeast. Add the oil and water. Beat vigorously with a wooden spoon for three minutes, then stir in the rest of the flour 1/2 cup at a time.

The dough should be a rough, shaggy mass that will clean the sides of the bowl. If the dough is moist, add a small amount of additional flour.


Pita dough ready to knead

Turn the dough onto a lightly floured work surface and knead for 6 minutes.

Preheat the oven to 500°.

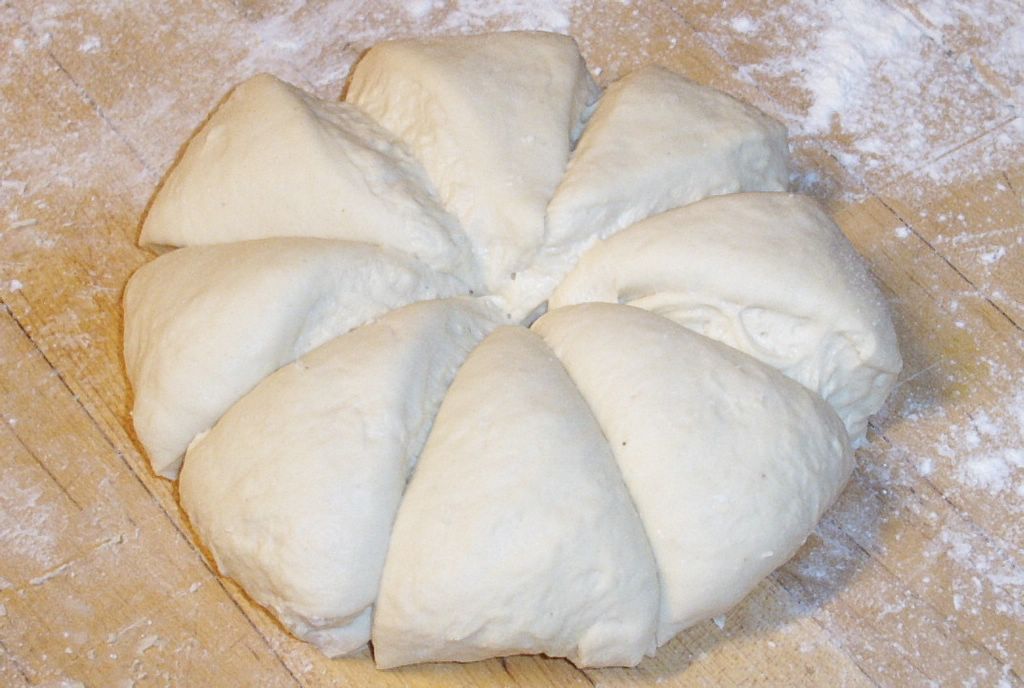
Divide the dough into 8 pieces. I patted the dough into a circle and used my metal dough scraper (these things are so handy) to quickly and evenly cut it into eighths, as if cutting up a pie.


Divided Dough (it "stuck" back together while taking the picture)

Roll into balls, dust lightly with flour, and cover with a damp tea towel. Let rest for 30 minutes. (I increased this from Bernard's 20 minutes.)


Dough balls ready to be rolled out

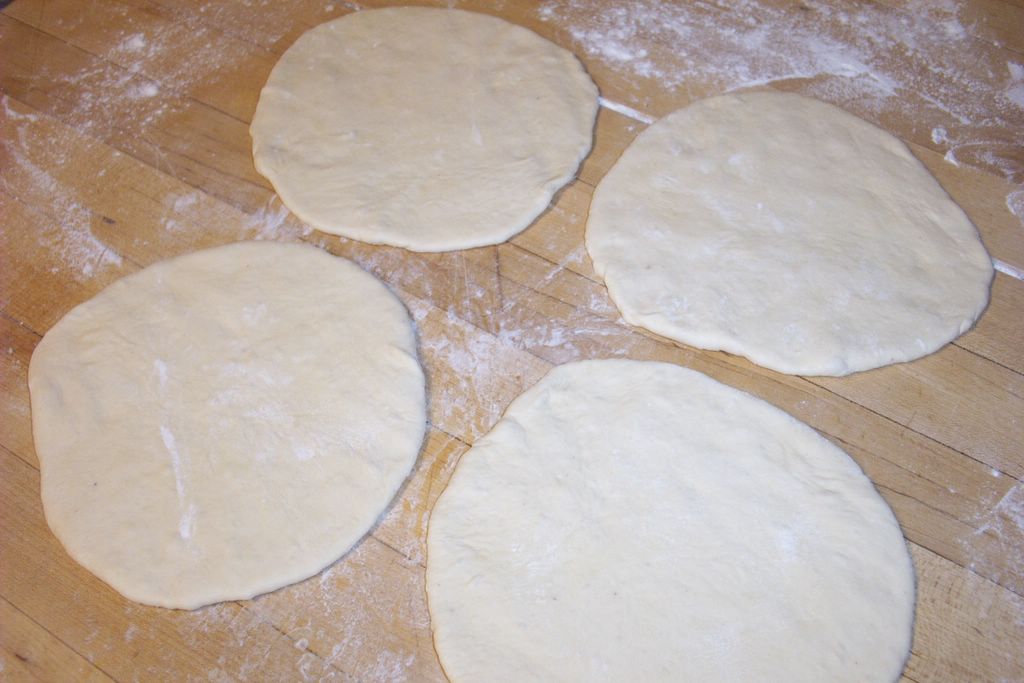
Use the palm of your hand to flatten each ball into a disk. Finish with a rolling pin, flattening the dough into a disk about 6" in diameter and 3/16" thick. Their thinness is more important than making them perfectly round. Irregularity adds charm, says Bernard.


Rolled out disks ready for the oven

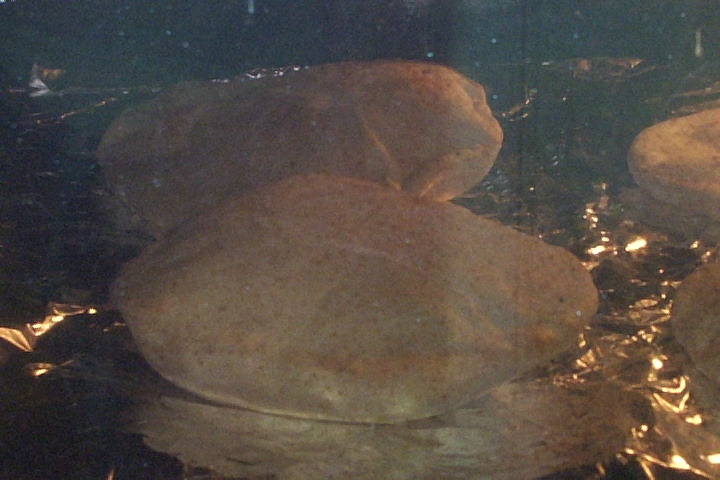
Place each round on a square of foil, and carefully place 3 or 4 of the rounds directly on the oven rack. Bake for 5 to 8 minutes, or until they are puffed.


Pitas puffing in the oven

Repeat with the remaining disks.


Hot puffed pitas ready to be wrapped in foil

When you remove the breads from the oven, stack them up and wrap them in a large piece of foil. This will keep the dough soft while the tops fall, leaving a pocket in the center. Cut them in half (so you can fill the pocket) and serve warm or at room temperature, or let cool, wrap tightly in aluminum foil, place in a zipper bag, and freeze.

Thaw frozen pitas before using (this only takes about 5 minutes at room temperature). To reheat, stack several in a pile, wrap with foil, and place in a 375 degree oven for 10 to 15 minutes.

Pita pockets can be filled with all sorts of wonderful things. They are especially well suited for holding soft fillings that tend to squish out the sides of sliced bread sandwiches, such as tuna salad, or egg salad made my favorite way with still barely warm farm eggs and lots of Hellman's (Best Foods) mayonnaise.

You can even fill your pita with a 'real' salad of chopped greens, diced tomato and cucumber, grated carrot, perhaps some sweet red pepper, and a sprinkling of vinaigrette or nice bottled dressing.


It doesn't get much better than this.

A BLT pita made with homegrown heirloom tomatoes and local bacon is about as good as it gets. Tuck in some sliced avocado and you would probably be whisked straight to heaven.

But my favorite thing to do with pita pockets (which was the reason I made them in the first place) is to make gyros. I am not sure if my version is authentic or not. It is basically like a Greek-style taco.

First you mix finely chopped onion or shallots and garlic with plenty of parsley, basil, thyme, rosemary, salt, and pepper into some nice ground lamb. (If you want some very nice ground lamb, buy lamb stew meat from the butcher and grind it up yourself at home, or see if they'll grind it for you. ) Do not overmix the meat.

Dried herbs are fine, but use fresh if you have them. Amounts are simply a matter of taste. This mixture is more flavorful if allowed to chill for several hours or overnight, but if you are pressed for time you can use it right away.

Brown the meat in a skillet. While it's cooking, stir together some chopped tomatoes and onions and put them in a small bowl. In another bowl, combine a chopped, peeled cucumber with plain yogurt and/or sour cream and a clove of garlic that has been minced with a little salt. (Lemon cucumbers taste delicious, are easy to grow from seed, and don't have to be peeled; miniature white cucumbers taste great and are easy to grow, too.)

Bring the hot lamb mixture, the warm pitas, the tomatoes and onions, and the cucumber/yogurt mixture to the table and let everyone assemble their own dinner. If you really want to gild the lily, you can offer a little dish of grated sharp cheddar cheese as well.

Warning: people can and will devour a great number of these in record time. The first time I made them, it was was just me and my mother at the table. Silence ensued as our complete attention was focused on our plates. As I casually reached for another pita, my mother looked over at me and said, "How many have you had?" I admitted that this would be my third.

"Why, how many have you had?"

"Five."

You've been warned.

This ground lamb mixture also makes lamb burgers fit for a king, especially when cooked on the grill, topped with melted sharp cheddar, and served on toasted homemade rolls or bread (or stuffed into warm pitas) that have been spread with a thin layer of dijon mustard.

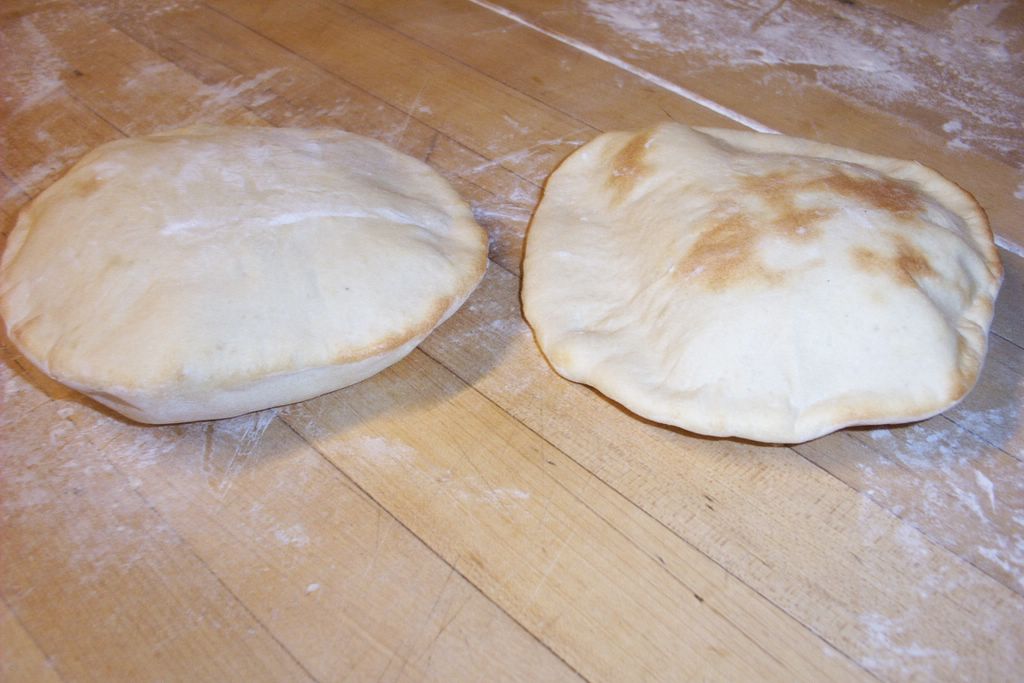
So now you not only know how to make delicious pita pockets in under an hour, but also what to do with them. There is just one tiny problem. During my intensive research, I discovered a deep dark secret: Not all pitas puff. Oh, I know there are people out there who claim that every pita puffs perfectly for them, but this was not my experience (and I suspect they may be lying).

I tried everything. I altered the recipe. I rolled the dough balls out to different thicknesses. I let them rise for less time and more time. I baked them on one big piece of foil instead of lots of little ones. I baked them on a heavy duty rimmed commercial baking sheet and on a very hot
baking/pizza stone (the secret to incredible homemade pizzas and crusty artisan breads).

I even turned to my very favorite bread book,
Bread Alone by Daniel Leader, and tried his recipe, which called for only 1/4 teaspoon of yeast, no oil, no sugar, less salt, and two and a half hours of rising time. The pitas were baked on a hot baking/pizza stone at 400°.

I did have a slightly better puff rate than with Bernard's recipe, but the pitas were not nearly as flavorful (no oil or sugar and less salt will do that to a thing). I started to become
just a little bit frustrated.


What to do? What to do?

I finally realized that I'm never going to get 100% pita puffage. And I no longer care, because I have traveled down The Road of the Unpuffed Pita, and there is no turning back. I'm in love.

If your pitas don not puff properly, there is no need to panic. As I see it, you have three tasty options.

The first option is to gobble them up straight from the oven and pretend they didn't exist.

The second is to turn them into pita chips.


I cannot claim responsibility for the invention of pita chips. I also cannot believe that I lived this long without them, since I am now a certified pita chip addict. The other night I was so desperate for some that I actually made them using my frozen stash of puffed pitas. They are ridiculously easy to make, and a million variations abound.

Nic at Bakingsheet likes to spray hers with olive oil and sprinkle them with salt, pepper, cumin, and paprika. Shuna at Eggbeater simply brushes them with olive oil and sea salt, while Sam at Becks & Posh makes hers with homemade chile oil.

The pita chips in the photo above were my first attempt. Some of them were brushed with a yummy herbed olive oil/canola mixture I swiped from a container of tiny marinated mozzarella balls. Others were brushed with extra-virgin olive oil and sprinkled with finely grated Pecorino Romano and a little salt.

I won't admit how quickly this first batch disappeared. Let's just say that there was no need to make dinner that night—and they go very well with a glass or two of red wine.

Baking time depends on the thickness of the pitas and how crisp you desire them. I baked various batches in a 400° oven for anywhere from 6 to 15 minutes. I also baked some in my beloved toaster convection oven at 400° for 6 to 10 minutes on the convection setting.

I don't know if pita chips store well, because I never had any last that long.

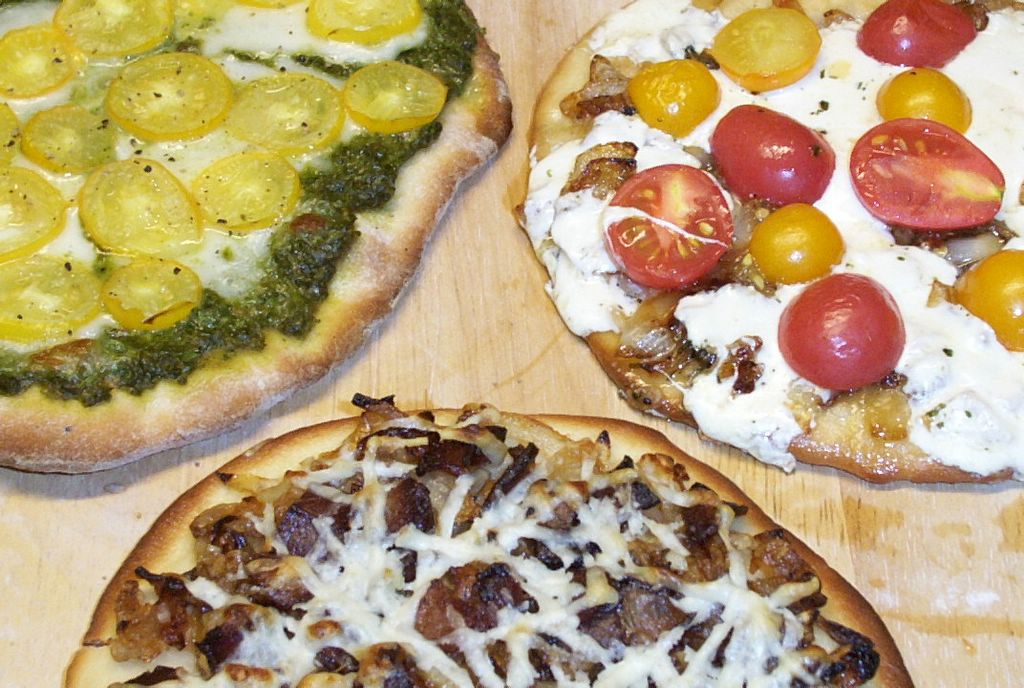
The third way of dealing with pocketless pitas has inspired my new motto: When life gives you unpuffed pitas, make pizza!


Pita bread pizzas: my new favorite 'fast food'

Making heavenly homemade individual pizzas just got a whole lot easier. You simply top the unpuffed pitas however you desire and pop them in the oven for about 6 minutes. I baked these in my toaster convection oven on a homemade hearth (click here for more info) at 425° for 6 minutes. I reheated cold leftover pita pizzas at 425° for 5 to 8 minutes.

Both times I let the hearth heat up for 15 minutes. During this time you could fix a garden salad or heat up a bowl of homemade soup to have with your pizza.

Suddenly a recipe gone wrong has turned into a fabulous gourmet dinner that is ready in less than 30 minutes and can be prepared on the spur of the moment with whatever ingredients you happen to have hanging around. All you need to do is keep a supply of unpuffed pitas in the freezer.


I made this pizza using a frozen pita. It's topped with a thick layer of homemade pesto, slices of fresh mozzarella, the first orange banana tomatoes from the garden (well worth the wait), and a sprinkling of Pecorino Romano. I ate half of it standing up in the kitchen.

So there you have it. The complete Pita Project.

I can't offer you 100% success rate with this recipe, but perhaps you'll fare better than I did. On the other hand, after tasting a couple of rejects, you may just find yourself crouched down in front of the oven, fervently hoping that all of your pitas don't puff.

More links for bread lovers:
Ten Tips on How To Bake Better Artisan Breads at Home
Beyond Easy Beer Bread
Whole Wheat Beer Bread

Onion Rye Beer Bread
Three Onion & Three Cheese Pizza
Tomato Pesto Pizza & My Favorite Basil Pesto Recipe

Fresh Tomato & Basil Whole Wheat Sourdough Bread
No-Knead Crusty Freeform Bread
Oatmeal Toasting Bread
Savory Cheese & Scallion Scones
Cranberry Christmas Scones
Spicy Pumpkin Pecan Raisin Muffins
Best Blueberry Bran Muffins & Other Bran Muffin Variations


Still hungry? You'll find links to all my sweet and savory Less Fuss, More Flavor recipes in the Farmgirl Fare Recipe Index.

© 
FarmgirlFare.com, the (mostly) puffed up foodie farm blog where Farmgirl Susan shares recipes, stories & photos from her crazy country life on 240 remote Missouri acres.

Daily Farm Photo 9/2/05: The Work May Be Hard


But the Views Can Be Great

Thursday, September 1

Blog Day 2005 (Observed)


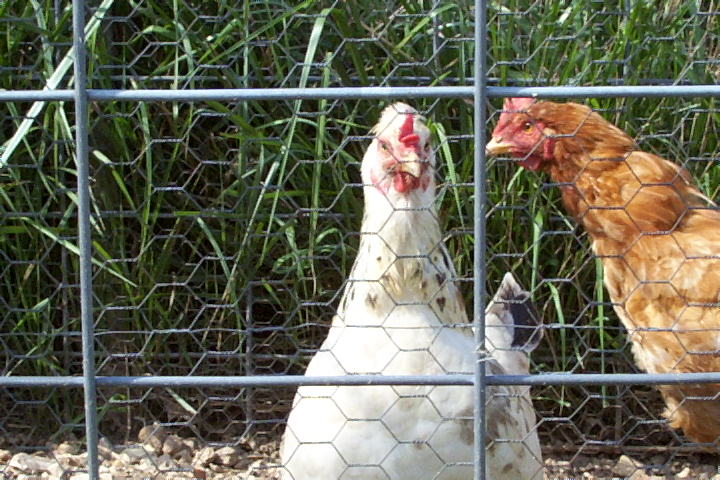
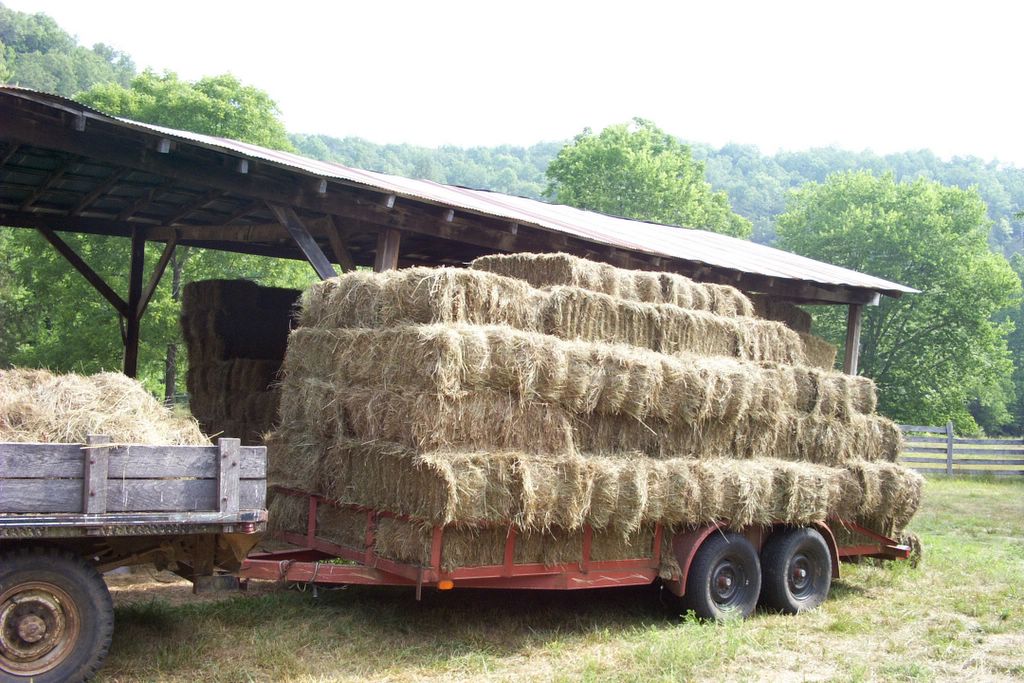
What are we doing up here? Blog Day is over. She missed it. She's late for everything! And then she goes and sticks us here for no apparent reason. What is she thinking? Why isn't she posting all those recipes she keeps talking about? What kind of food blog is this, anyway? So she picked up a few bales of hay. That was days ago. She should try laying an egg!

Oh no! Do you see what she just said down there? She said "soon." You know what that means. We could be stuck here for weeks! You know what we need? We need our own blog. Definitely. I mean, hens are foodies, too, right? So, do you think cluck.com is available?

I think you'd better be quiet before she posts her recipe for curried chicken salad!

Daily Farm Photo: 9/1/05


Don't Build Your Nest Deep Inside The Hay Baler

Wednesday, August 31

Daily Farm Photo: 8/31/05


Each Bale Is Handled Four Or Five Times Between Field & Barn

Tuesday, August 30

Daily Farm Photo: 8/30/05


From Here To The Barn Seems To Take An Eternity

Monday, August 29

Daily Farm Photo: 8/29/05


Raked Hay Ready To Be Baled Today

Sunday, August 28

Daily Farm Photo: 8/28/05


Discard On Display

Saturday, August 27

Daily Farm Photo: 8/27/05


Running A Farm Is Hard Work

Friday, August 26

Daily Farm Photo: 8/26/05


These Misty Summer Mornings Feel So Peaceful

Thursday, August 25

Daily Farm Photo: 8/25/05


Some Of The Most Cheerful Wildflowers

Wednesday, August 24

Bread Bakers, Start Your Ovens!


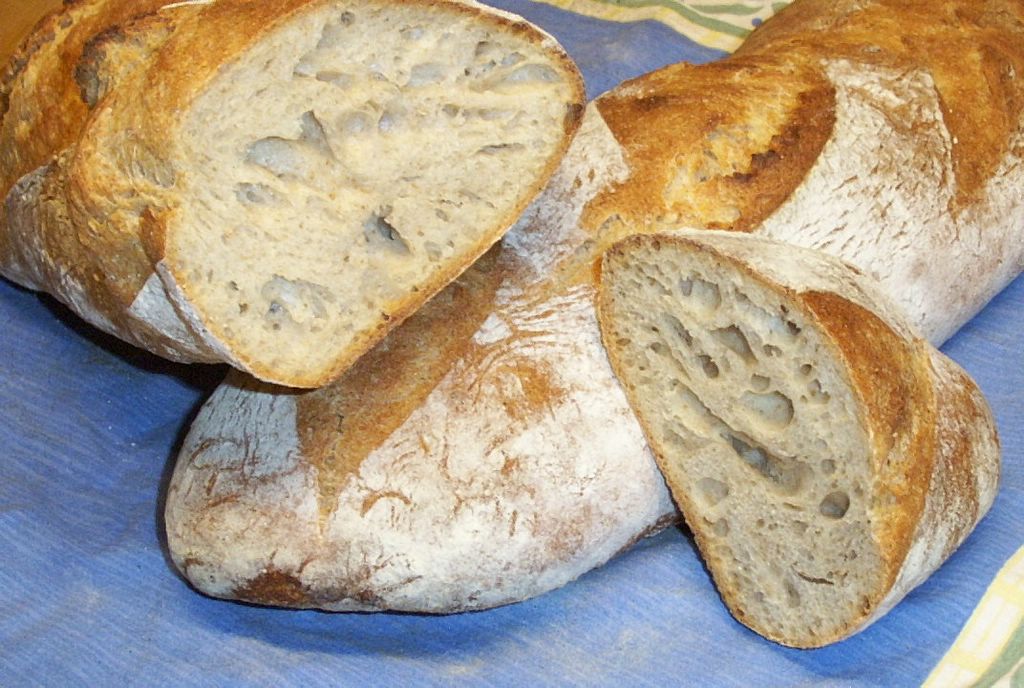
Freshly Baked Pain Au Levain

Yes, last month's Ten Tips For Better Bread post is finally complete!
And while I originally wrote it with freeform, crusty loaves in mind, I have realized that nearly all of these tips and techniques can be applied to practically any type of bread you want to bake, including sandwich-style pan loaves.

So if you're ready to begin baking your best loaves ever (or perhaps your first loaf ever!), just tie on your apron and click here. I thank you for your patience and look forward to hearing about your adventures. And remember--even bad homemade bread usually tastes good!

Daily Farm Photo: 8/24/05


Lucky 13 Is First Out Of The Barn Nearly Every Morning

Tuesday, August 23

Daily Farm Photo: 8/23/05


Hardy Echinacea Blooms All Summer Long In The Garden

Monday, August 22

Daily Farm Photo: 8/22/05


Heart Rocks By The Barn

Happy Birthday To My Mom!

Sunday, August 21

Daily Farm Photo: 8/21/05


All In A Night's Work

Saturday, August 20

Daily Farm Photo: 8/20/05


Smudge

Attention Cat Lovers! It's time for Weekend Cat Blogging #11!
Food Bloggers around the world unite each week and share pictures of our favorite felines. See cute cat photos and discover yummy food blogs. We'd love to have you join us. Just send your permalink in a comment to Clare at Eat Stuff and add a "Weekend Cat Blogging" tag to your post.

This week check out:
Kiri enjoying the great outdoors
at Eat Stuff in Australia
Bella & Tasha at A Few Of My Favourite Things in Australia
Kelly at Annes Food in Sweden
Gideon Greve at A Cat In The Kitchen in Sweden

Miles, a big orange boy, at My Adventures in the Breadbox
Indrid at Tigers & Strawberries in Ohio
Boo's picture of her favourite orange kitten at Masak Masak in Malaysia
Culinary Abe at Restaurant Widow in Ohio
Tsar lying in his basket at Cook and Eat in Australia
Callie and Nick takin' a nap at Sweetnicks in New England


Friday, August 19

Daily Farm Photo: 8/19/05


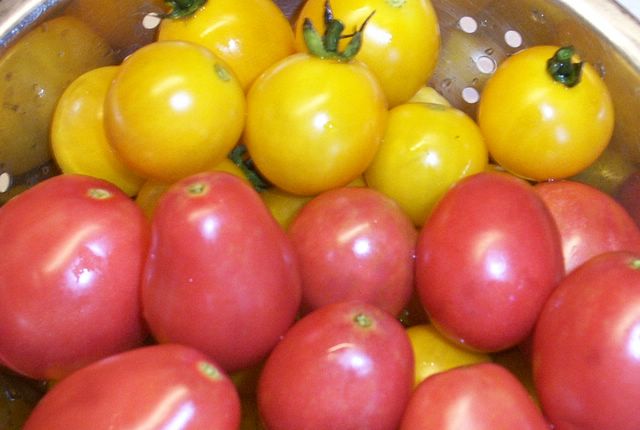
At Last! Ripe Tomatoes In The Garden.

Thursday, August 18

Recipe: Choco-Oat-Butterscotch-Coconut Crazy Cookies

Wow. Who knew?

They're only slightly less computer savvy than I am.

Welcome to the 21st century, Farmgirl!

Wow. Who knew computer technology had come so far in ten years? Who knew how much better my daily farm photos would look on a fancy flat screen? Who knew it was going to be such an ordeal to set up my brand spanking new computer?

And for those of you who follow along with the comments and were starting to question my eyesight (or my sanity): who knew that you could adjust the brightness on the monitor and suddenly see all kinds of things hiding in the darkness, like New Cat's tail? (If you're now shaking your head in disbelief, please re-read the above photo caption.)

Yep, I'm typing this on my wonderful new computer. I'm still pretty much blogging blindly, but now I look a lot better doing it. I can also blog around a little more quickly, though our speed is limited by a dial-up connection—which I didn't think was a big deal until the other day when a friend said, "You have a website and you're on dial-up?" and burst out laughing. DSL? Cable? Never gonna happen out here. I'm just thrilled we have a local dial-up number.

The arrival of a new computer is definitely cause for celebration. I decided I would make a batch of my Crazy Cookies and rename them Crazy About My New Computer Cookies in honor of this exciting event. But when it was pointed out to me, quite rightly, that my new computer has also been driving me crazy, well, I realized the original name was actually perfect.

These are big, soft cookies that are easy to make and always get rave reviews. As always, I urge you to seek out local and organic ingredients whenever possible. Enjoy!

Farmgirl's Susan's Crazy Cookies
A crazy combination of flavors that works - Makes about 18 large cookies

Melting the butter allows you to skip getting out the electric mixer. It also makes the cookies softer. I simply place a large, stainless steel mixing bowl directly on a gas stovetop burner, set it on low, and melt the butter directly in the bowl, then mix in the rest of the ingredients using a large rubber spatula.

If you can't find butterscotch chips, you might try substituting peanut butter chips or white chocolate chips. Or probably anything else you can think of--this recipe is versatile!

I use unsweetened, organic coconut in any recipe that calls for sweetened flaked or shredded coconut, and have always had great success. It's tasty, inexpensive, doesn't contain any scary ingredients, and can usually be found in the bulk section at natural foods stores.

I highly recommend investing in a couple of heavy duty commercial rimmed baking sheets. At less than $14 each, they're one of the best kitchen deals around. Treat them well—I usually line mine with sheets of unbleached parchment paper, which is wonderful stuff—and they'll last for ages. I've been using the heck out of some of mine for 20 years for everything from baking scones to roasting Brussels sprouts, not to mention thousands of cookies.

1 cup (2 sticks/8 ounces) organic butter, melted*
3/4 cup granulated sugar
3/4 cup packed light brown sugar
2 large eggs
2 teaspoons pure vanilla extract
2 cups organic all-purpose flour
1 teaspoon salt
1 teaspoon baking soda
1-1/2 cups organic old-fashioned oats
1 cup milk chocolate chips
1 cup butterscotch chips
1/2 cup chopped pecans or walnuts
1/2 cup flaked coconut
Heat the oven to 350 degrees. Line a heavy duty baking sheet with unbleached parchment paper,.

Place the melted butter in a large bowl and stir in the granulated sugar and brown sugar. Stir in the eggs and vanilla, mixing well.

Stir in the flour, salt, and baking soda (combine these together before adding in if desired), mixing just until combined. Stir in the oats, chocolate chips, butterscotch chips, pecans, and coconut.

The dough will be soft, and the cookies will spread while baking. For slightly thicker cookies, chill the dough for about 30 minutes.

Use a 1/4-cup scoop or measuring cup to form cookies and place on a heavy baking sheet. (Six cookies will fit on a half-size sheet pan.)

Bake until the centers are set, about 15-17 minutes. For crunchier cookies, increase the baking time. (You can also make smaller cookies; just reduce the baking time.)

Cool on a wire rack. Serve warm or at room temperature with glasses of very cold milk. Personally I think they taste even better the second day. And, as with nearly all cookies, they freeze beautifully. Just put them in a zipper freezer bag and toss it into the freezer.

Still hungry? You'll find links to all my sweet and savory Less Fuss, More Flavor recipes in the Farmgirl Fare Recipe Index.

Daily Farm Photo: 8/18/05


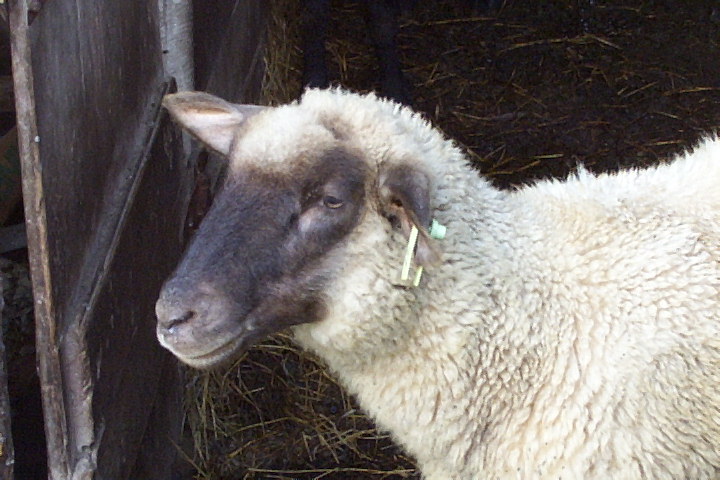
Baaaaaa!

Wednesday, August 17

Daily Farm Photo: 8/17/05


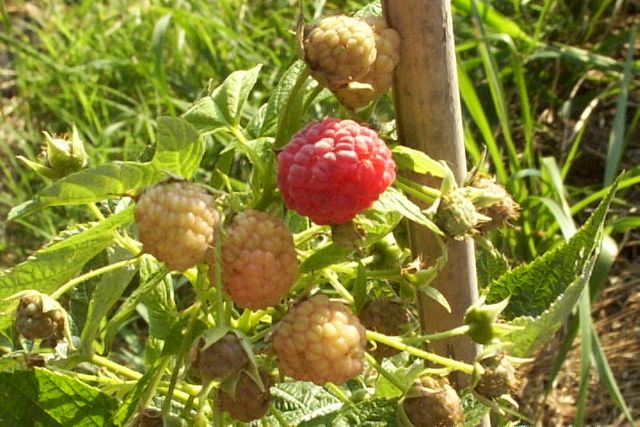
Surprise Bounty On My New Plants

If you would like to see the mature raspberry plants growing on the other side of the greenhouse, click here.

Tuesday, August 16

Daily Farm Photo 8/16/05


Lucky Buddy Bear

Monday, August 15

Daily Farm Photo: 8/15/05


Sunrise On A New Week

Sunday, August 14

Daily Farm Photo: 8/14/05


Morning Glories Are Taking Over The Garden